

How To Build A Diy Workbench On A Budget
Your bench top is where every cut and clamp lands. For budget builds, start with 3/4" plywood or 1" hardwood plywood for stiffness. Add a durable surface layer—melamine, phenolic resin sheet, or a tough epoxy coat—to resist glue, oil, and gouges. Check flatness with a straightedge; any wobble will show up in every project.
Table of Contents
Our Top Picks
Affiliate disclosure: if you buy through these links, we may earn a commission at no extra cost to you.

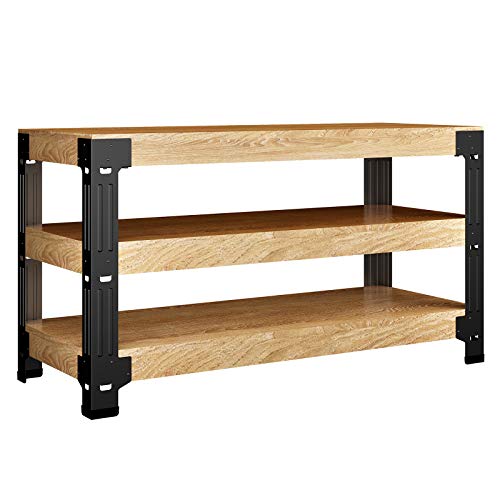

Factors to Consider
Top material and surface finish
Frame, base, and stability
A sturdy frame stops wobble and ensures accuracy. Build from solid lumber or steel corners with diagonal bracing, glued and screwed joints, and plenty of mating surfaces. A lower shelf or drawer rails adds torsional stiffness and gives you real storage. Fit leveling feet or adjustable posts to compensate floor irregularities and keep the top true.
Height, ergonomics, and adjustability
Choose a bench height that matches how you work. For most standing tasks, 34-36 inches is the sweet spot; taller folks may want 37-40 inches, shorter folks 32-34. If you can, plan for adjustable feet so you can dial in alignment without re-cutting legs. A comfortable, repeatable height improves accuracy and reduces fatigue.
Clamping, storage, and accessories
Clamps and vises are the anchors of a good bench. A basic front or end vise plus a row of dog holes or a pegboard keeps parts steady and repeatable. Add a front-edge clamping surface, a tool well, and a bottom shelf to keep hardware organized and off the work area. Plan for a simple drawer system or bins so small parts stay reachable and tidy.
Frequently Asked Questions
What’s the best top material for a budget workbench?
Go with 3/4" plywood or 1" hardwood plywood for stiffness and speed. Add a durable surface layer such as melamine or a phenolic sheet, or seal with epoxy to resist glue and oil. Avoid particleboard, which swells and wears quickly with shop use.
How tall should a DIY workbench be for general use?
34-36 inches fits most tasks. Taller builders may prefer 37-40 inches, shorter users 32-34; test with a block and adjust before final assembly. Height consistency matters for accuracy and comfort across repeated tasks.
Is a vise worth it on a budget bench?
Yes. A modest front or tail vise dramatically improves clamping without breaking the bank. You’ll notice the difference when you’re planing, sawing, or holding irregular parts.
How can I prevent wobble on a budget bench?
Diagonal bracing, a wide stance, and level feet do the work. Tie the bench to the wall if possible, and verify flatness with a straightedge and a level. A glued top and solid joints resist racking under load.
What affordable clamping options work well?
Dog holes, a simple track, and quick-release clamps are cheap and effective. Use a couple of bar clamps for longer stock and consider a pegboard or tool well for quick access. A few reliable clamps beat a dozen cheap ones in practice.
How do I level a bench on an uneven floor?
Use adjustable feet or shims under the legs, then recheck with a level and straightedge. Make fine tweaks until the top sits flat within a few thousandths over the length. Don’t assume the floor is flat—verify and compensate.
Are metal frames better than wood for budget benches?
Metal frames can be stiffer for the same cost, but they’re heavier and can be noisier to work on. A well-braced wooden frame with solid joints can outperform cheap steel if you build it right. Choose based on space, weight you’re willing to move, and the tools you’ll use.
Conclusion
With a solid top, stable frame, and smart clamp setup, you get real workshop value without wrecking your budget. Start small, level up the add-ons as you go, and you’ll have a bench that lasts years of everyday use.


